I'll preface this with saying that I am an amateur when it comes to electronics, but I'm confident that this is a doable DIY with some guidance. I was just gifted a Delta Unisaw model 34-802 from 1999. It is 230v, single phase, 3HP motor (12.7 amps). The original power switch is broken and I need to replace it, but I'm struggling with the wiring.
There are 4 wires coming into the junction box at the original switch, Black, White, Red, and Green. The green is grounded to the junction box. Black and Red are connected to normally closed poles. White is connected to a normally open pole, and the red and white wires are bridged by a metal bar. I have no idea if this is correct, but this is how the saw came to me.
![Image]()
My understanding is that this is a low-voltage switch and the main power is in this larger box at the back of the saw:
![Image]()
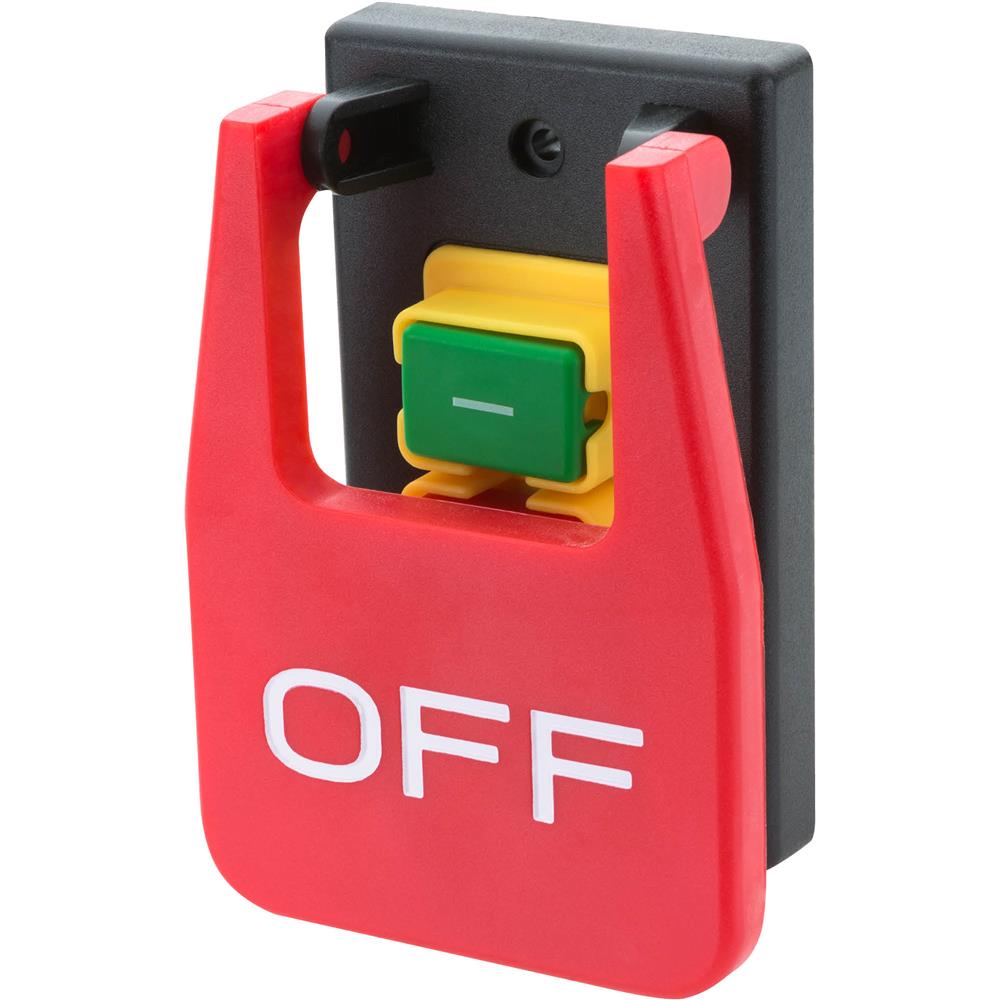
I've got a paddle switch just like this one lying around but I'm not totally clear on how to wire it up, or if it would even work given that the original switch has 3 wires going into it and all of the diagrams I've seen for these paddle switches have 4. Can someone help me understand what is going on here and how to approach the next steps? Will this switch work or do I need to look for something else? https://www.grizzly.com/products/woodstock-paddle-switch-120-230v/d4151
![Image]()
I should add that I found this post with what appears to be the same electronics as my saw, but their switch is wired differently: https://www.woodworkingtalk.com/threads/delta-unisaw-electrical-problem.225844/post-2180881
![Image]()
Any help would be much appreciated!
There are 4 wires coming into the junction box at the original switch, Black, White, Red, and Green. The green is grounded to the junction box. Black and Red are connected to normally closed poles. White is connected to a normally open pole, and the red and white wires are bridged by a metal bar. I have no idea if this is correct, but this is how the saw came to me.
My understanding is that this is a low-voltage switch and the main power is in this larger box at the back of the saw:
I've got a paddle switch just like this one lying around but I'm not totally clear on how to wire it up, or if it would even work given that the original switch has 3 wires going into it and all of the diagrams I've seen for these paddle switches have 4. Can someone help me understand what is going on here and how to approach the next steps? Will this switch work or do I need to look for something else? https://www.grizzly.com/products/woodstock-paddle-switch-120-230v/d4151
I should add that I found this post with what appears to be the same electronics as my saw, but their switch is wired differently: https://www.woodworkingtalk.com/threads/delta-unisaw-electrical-problem.225844/post-2180881
Any help would be much appreciated!