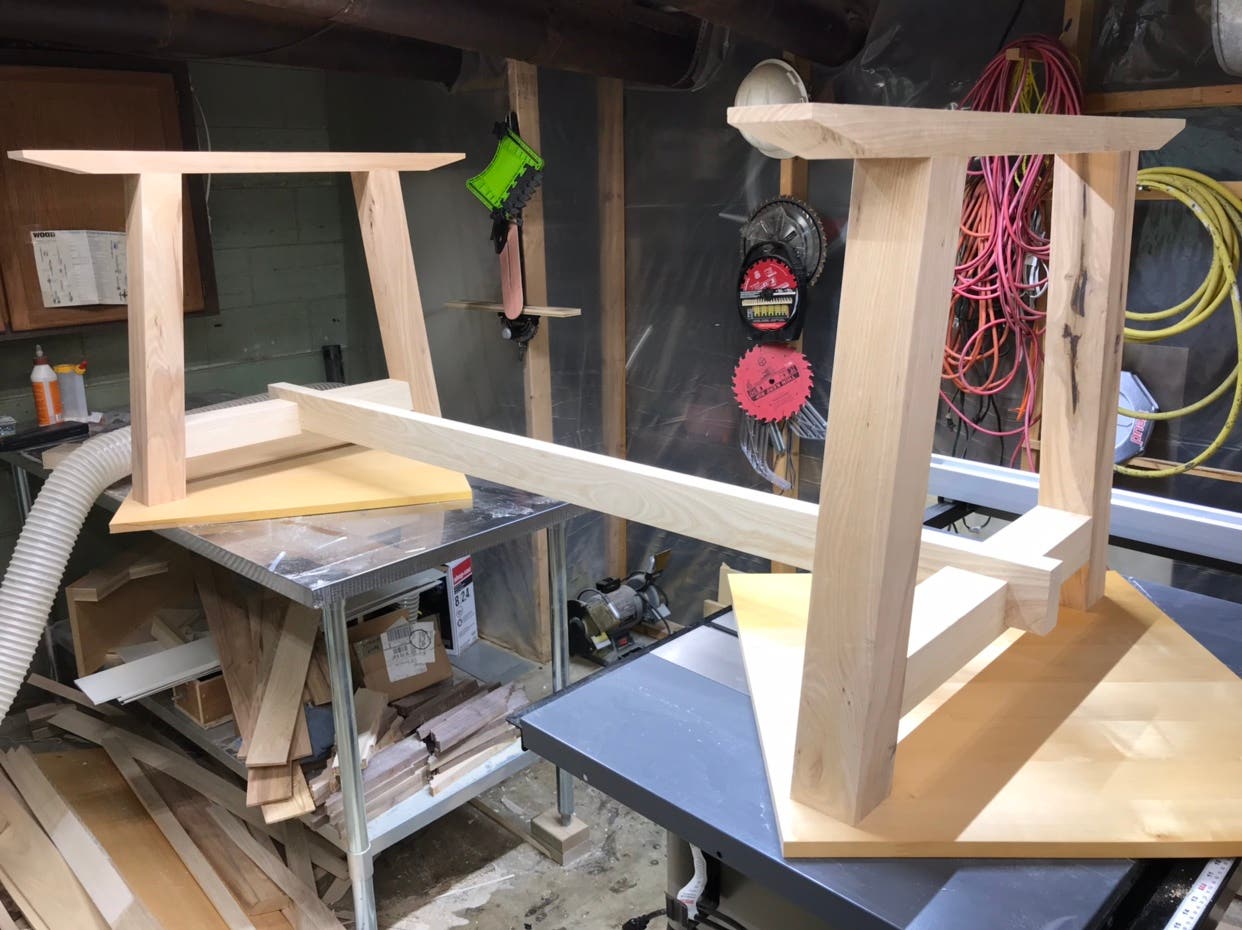
I’m close to beginning sanding on an ash table I’m building based on my own design and a few online photos I used for inspiration (hence no plans to go off of).
See pictures below. I plan to attach the top to the bases using biscuit slots and some buttons I make with ash to allow wood movement.
My question is do you think I need a piece spanning between the top of the two bases? In other words, another piece running lengthwise that would be fastened to the underside of the top with more buttons.
My thinking is this would give the whole base structure extra rigidity if someone were to lean on the end of the table, thus reducing stress on the rest of the base’s joints.
Would appreciate input on whether you’ve built anything similar. I’m leaning towards this being overkill but am not opposed to spending some extra time on that piece. (I would however need to mill down some more rough saw ash which is time consuming with the deadline I have.)
![Image]()
![Image]()
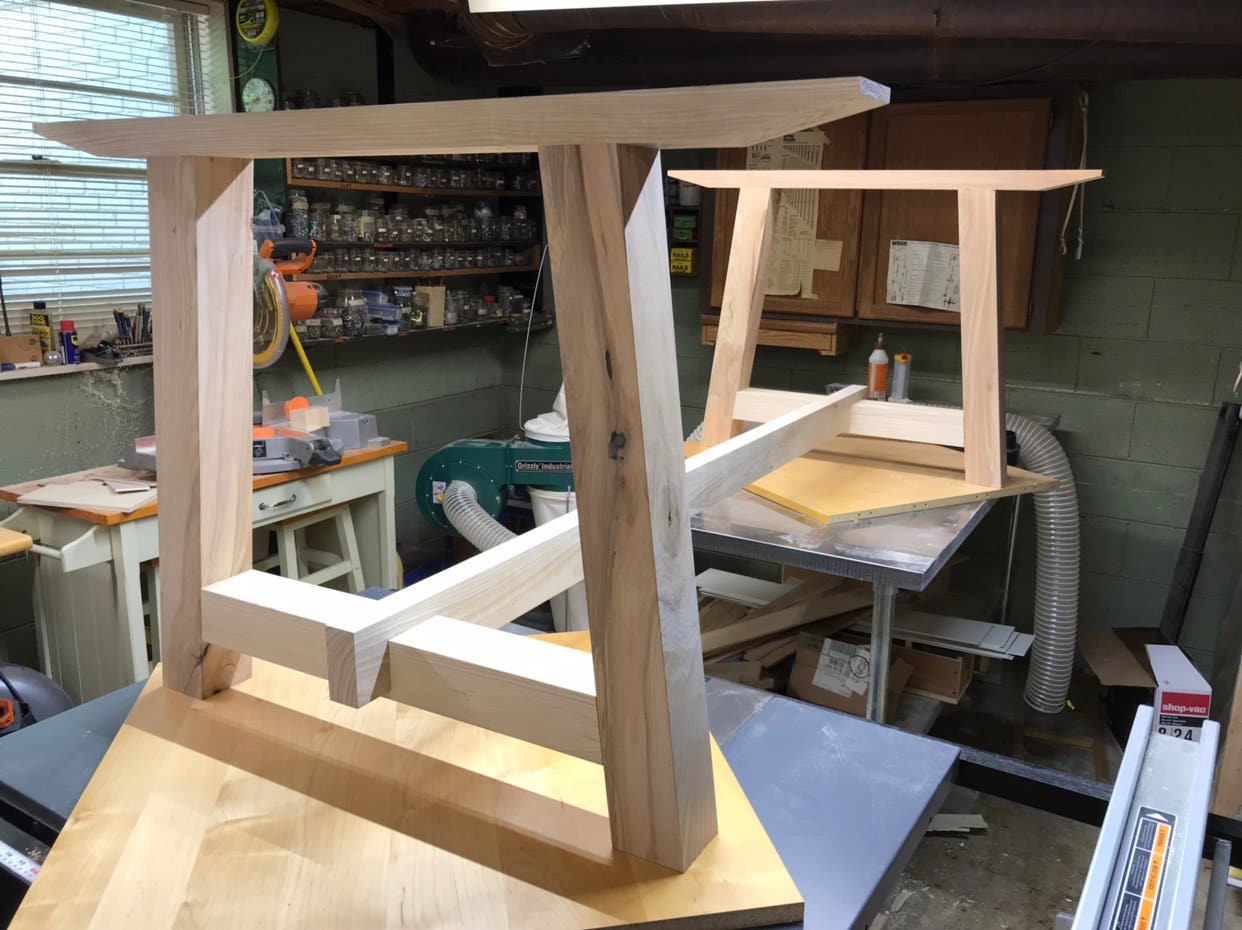
See pictures below. I plan to attach the top to the bases using biscuit slots and some buttons I make with ash to allow wood movement.
My question is do you think I need a piece spanning between the top of the two bases? In other words, another piece running lengthwise that would be fastened to the underside of the top with more buttons.
My thinking is this would give the whole base structure extra rigidity if someone were to lean on the end of the table, thus reducing stress on the rest of the base’s joints.
Would appreciate input on whether you’ve built anything similar. I’m leaning towards this being overkill but am not opposed to spending some extra time on that piece. (I would however need to mill down some more rough saw ash which is time consuming with the deadline I have.)