Hi folks
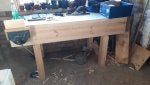
I'm new to woodwork (and to the forum) with hand tools and my wife and I have together (actually mostly her!) just built the english workbench from Richard Macguire's video series which I really enjoyed. The bench is made from pine.
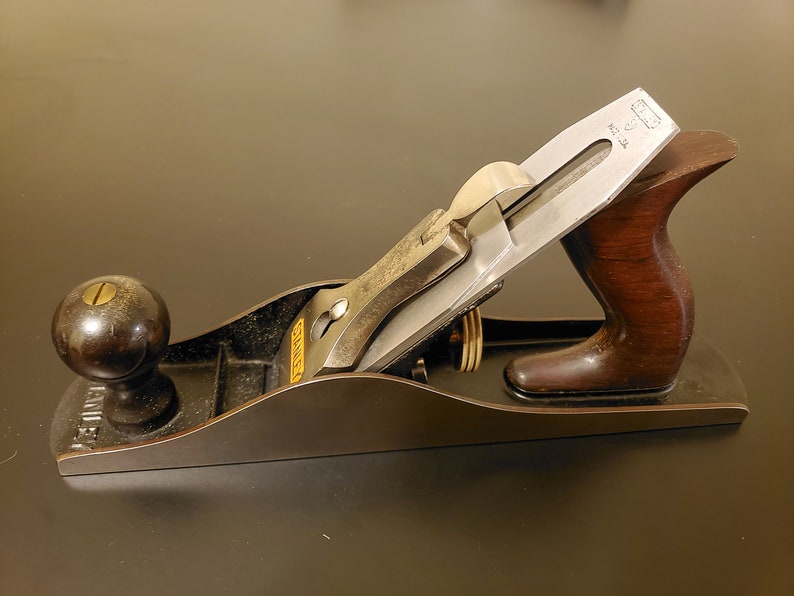
We are at the smoothing stage with the plane and are having problems. We bought a 1930s 5 1/2 Stanley bailey plane on ebay and sharpened the blade as instructed on many youtube videos. The blade has quite a camber on it. Didn't get quite as nice a burr as on many videos instead the edge was sort of "hairy" with lots of small pieces that were removed at the final stage.
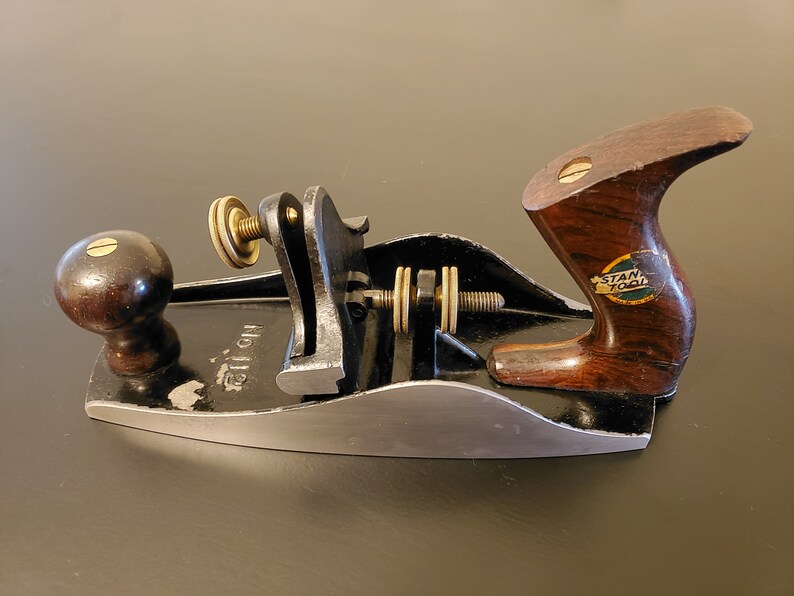
Anyway, the problem we're getting can be seen in the images I've attached. Any ideas what I need to do to stop this happening and get a really nice finish?
James
I'm new to woodwork (and to the forum) with hand tools and my wife and I have together (actually mostly her!) just built the english workbench from Richard Macguire's video series which I really enjoyed. The bench is made from pine.
We are at the smoothing stage with the plane and are having problems. We bought a 1930s 5 1/2 Stanley bailey plane on ebay and sharpened the blade as instructed on many youtube videos. The blade has quite a camber on it. Didn't get quite as nice a burr as on many videos instead the edge was sort of "hairy" with lots of small pieces that were removed at the final stage.
Anyway, the problem we're getting can be seen in the images I've attached. Any ideas what I need to do to stop this happening and get a really nice finish?
James